I would like to share an idea to improve the stearing column design. I’m afraid I did have some difficulties with the Zzaag design with the alignment between shaft and potentiometer. I changed the potentiometer to one having a metal housing and metal nut which allowed me to tighten it without fear of corrupting its thread which I did do on one accasion. Clearly the Elektor one was different and used a double bearing design which also had tighter tollerances. I have now implemented this with good bearings that fit the diameter of the plumbing. You need bearings with a pressed steel pillow block housing with either a 25.4mm or 28.5mm inside diameter depending on your plumbing. They only cost 8.19GBP 10.33GBP respectively and they can be found at simplybearing. Its a bit of a job to drill the holes but finally its worth the effort.
I say either 25.4 or 28.5 because you can use the original Zzaag plumbing or just use standard 25mm pipe. The diameter of the original Zzaag stearing column is 27.0mm so if you want to use this you need the bearing with 28.5mm apperture.
I wanted to be able to easily transport the Seguino in a car by removing most of the stearing column. This meant changing the stearing column to my own design and having a shorter section protruding from the platform when the handlebars were dismounted. This meant using standard 25mm pipe with the 25.4mm bearing.
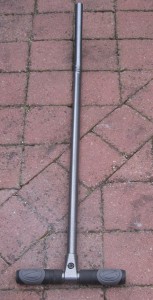
I used the following right angled piece of pipe which i asked my local hardware shop to bend about 25º more than 90º as you can see in the picture above.
This standard 25mm pipe fits to the 25.4mm bearing if the paint is filed off like in the picture above.
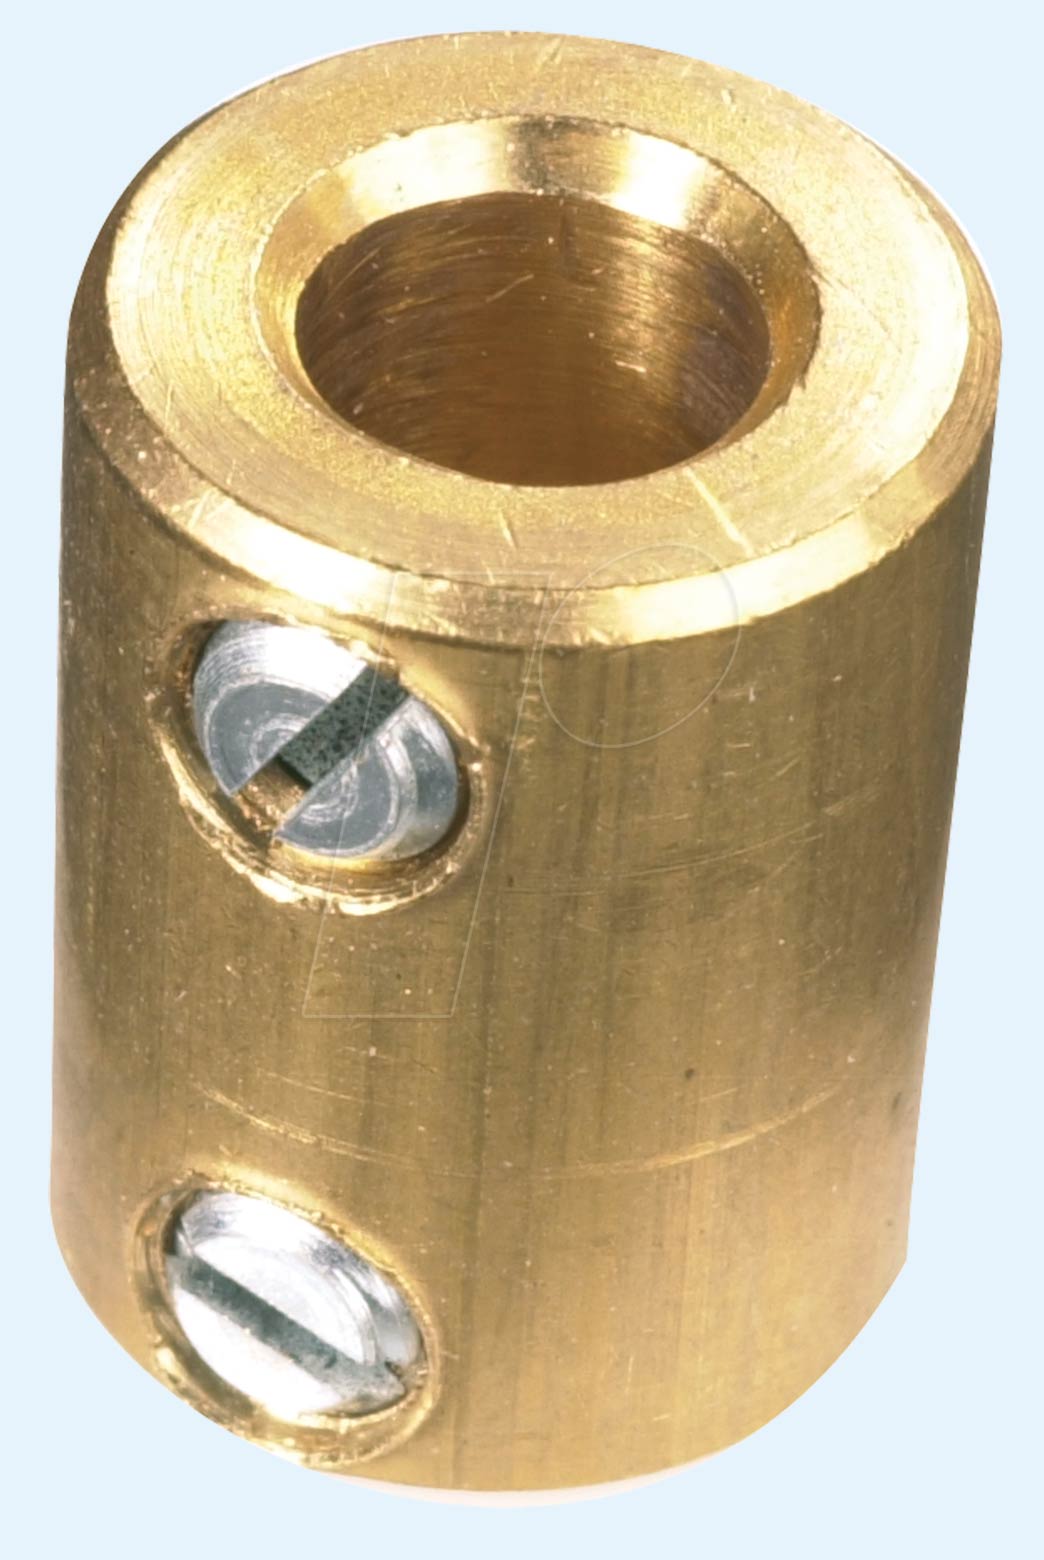
The remainder of the stearing column was a straight piece of 25mm aluminium pipe. Its total length was 86cm and it was bent at the 23cm point again 25º as can be seen in the picture above. This was connected to the above pipe bend using the following pipe connector. These angles gives the same result as the Zzaag design.
Then to the connection from the pipe to the potentiometer. On the left of the picture on the right: Original Zzaag design. The rubber was very slack and gave some hysteresis in the steering which did not feel right. This meant i had to turn the stearing column about 30degrees before anything happened. This is not sensitive enough as the driver expects an instant response even to small turnings of the handlebars.
On the picture to the right the right picture: The new design using a vibration damper which is connected to this table feet adjuster using a washer and 6mm bolt. Besides the bolt i also used glue to be sure the parts keep in place.
The type that I used was A2015M62 which means type A, rubber 20mm diameter and 15mm thickness, shaft coming out of both sides M6 and 20mm long. The shaft on the potentiometer side was cut to about 10mm and the table feet adjuster also had to be shortened, by griding it down, to allow the bolt to tighten the vibration damper properly.
A bit of work but the whole construction now works fine.
Two strong springs were attached to the stearing column ringht angled pipe (see picture above) and these were then stretched and connected to the top plate of the Seguino. This gives some force feedback to the driver and also has the advantage that the stearing column remains upright even when the driver has let go of it. This prevents the potentiometer being turned to far so that it becomes loose. A simple mechanism for adjusting the spring tension was included (see picture above). This can be adjusted without removing it because the screw thread on one side is reversed which means that by turning it in one direction you eit her lengthen or shorten it and this adjusts the spring tension.


